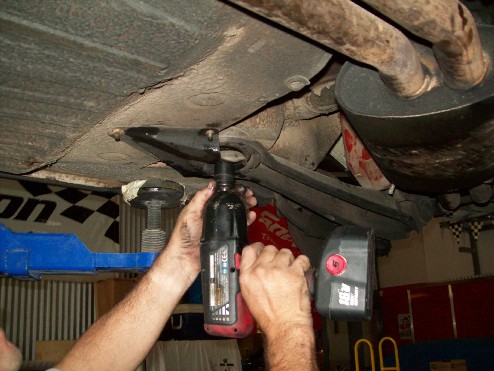
Undo the nuts and remove the unit.
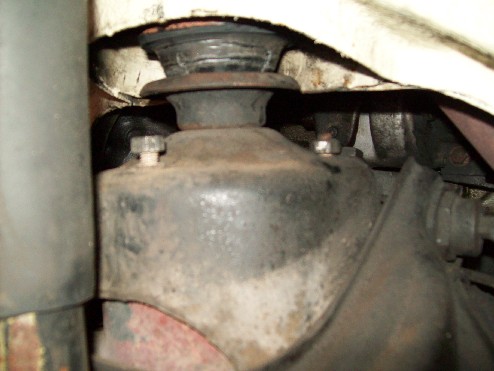
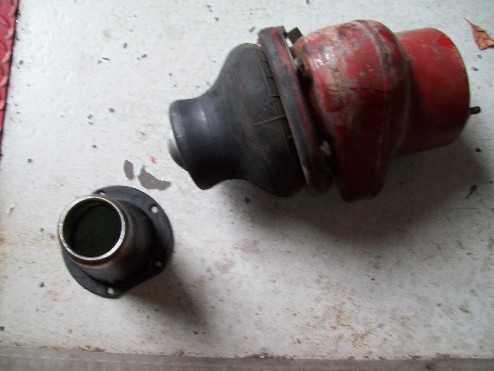
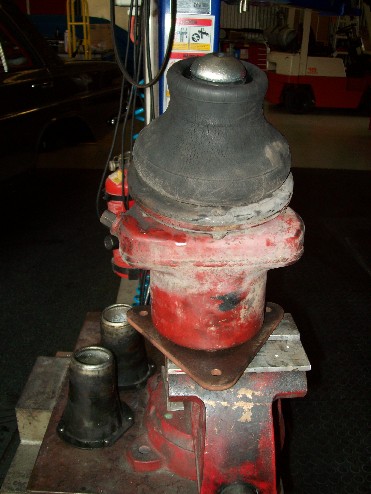
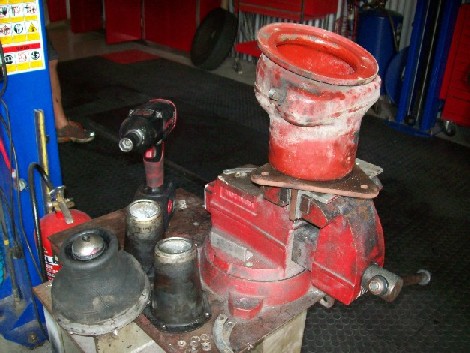
Removed unit can then be bench mounted and dissassembled using a large Phillips screwdriver and a 14mm spanner.
Now the rear units. Wheels off, view from rear on right.
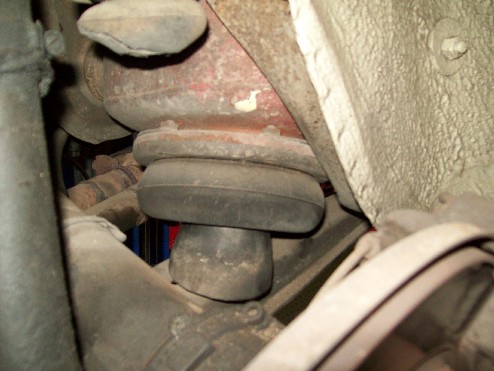
Undo the bolt holding the piston to the trailing arm and dislocate the piston.
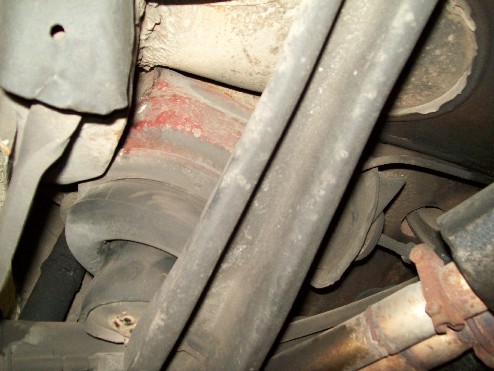
Undo the air lines. This is on the left.
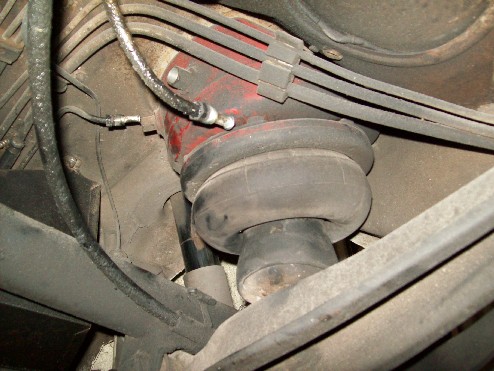
Send slave into the boot (trunk) with a 13mm spanner to undo the nuts at the right and left front corners of the floor and another slave into the rear of the car to remove the rear seat base. In the coupe, I found it necessary to remove the seat rear as well. There are two nuts and washer sets on each side. The sound deadener had to be lifted to get to them.
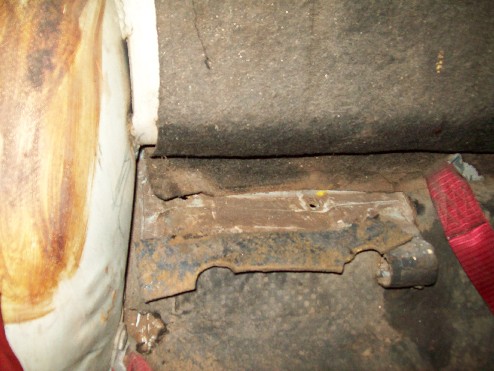
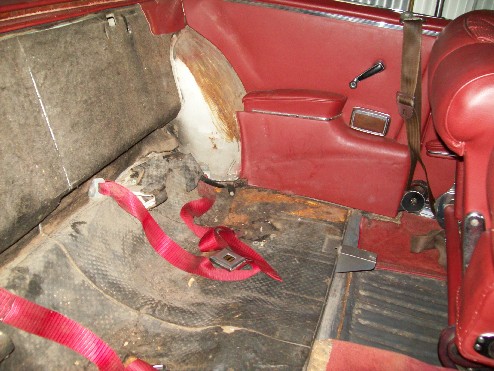
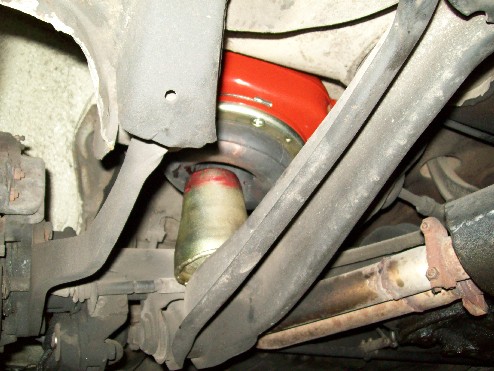
Drop the tank unit down from the floor. On the left, the whole unit came out quite easilly. On the right in the coupe, the exhaust was in the way. We got the right unit out by dropping the front of the trailing arm. Here's the left side.
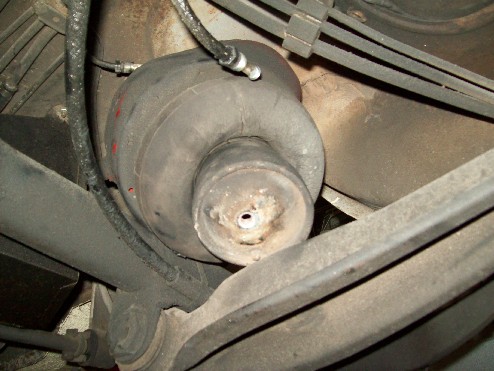
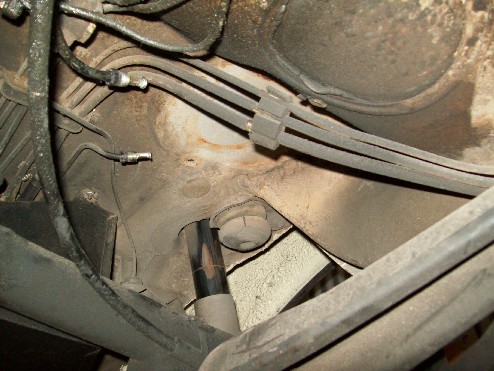
Here's the right unit going nowhere.
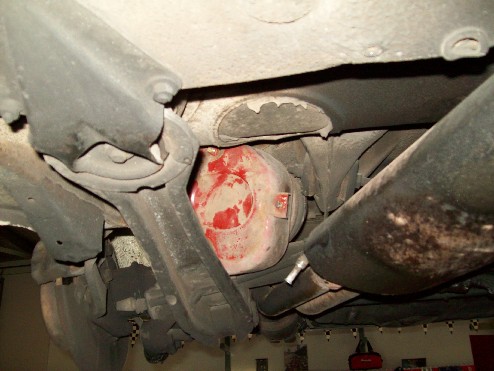
Here is the solution.
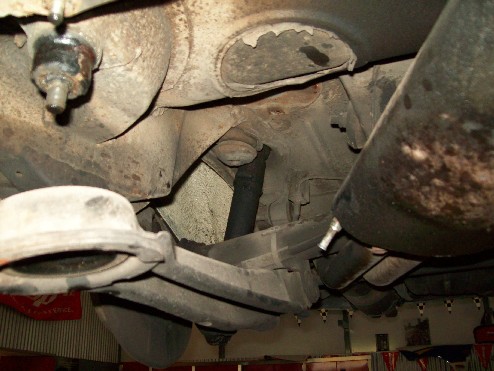
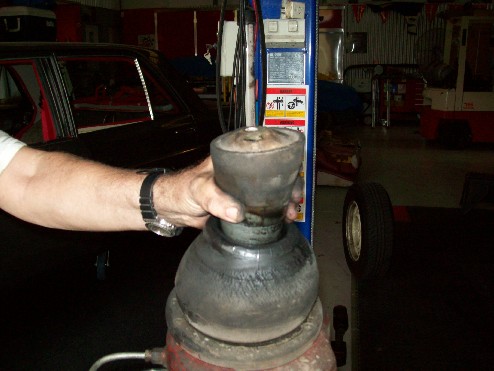
Both units are out and you will notice that we did not try to remove the pistons from the bellows on the car. Getting these pistons out is the worst part of this job after many years of use. They really stick to each other where the top of the cone seats in the rubber and steel "lid". The rear pistons are closed at the bottom, so bashing them off the bellows with a drift was not an option.
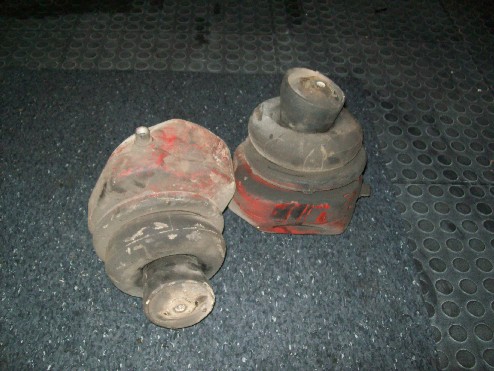
So I decided to use the same method I used 20 years ago of blowing them off using the rolling action of the bellows. This method only works if the bellows don't have holes in them. I put a Shrader valve into the inlet line of the left tank and used the spare cross line to connect the two units. Other option is to make up a service line with your compressor fitting on one end and a spare end of steel line with screw fitting. You need a larger fitting for the rear tanks if you go that way. I think I put a picture of one of these service lines way back in this thread. If not I'll add it later.
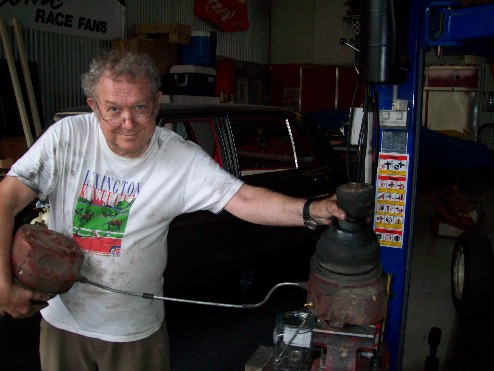
Dissassemble the units on the bench as per the front units.
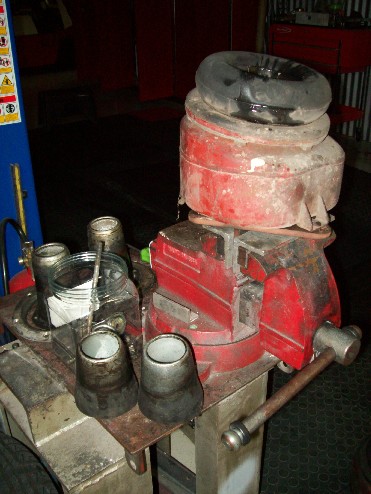
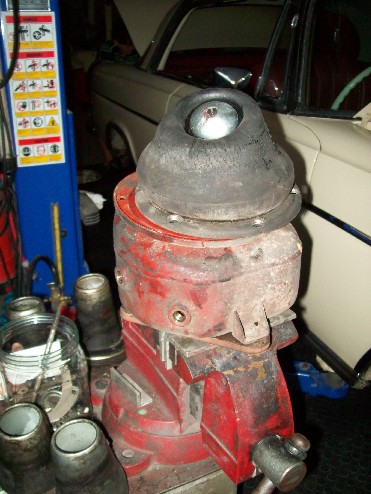
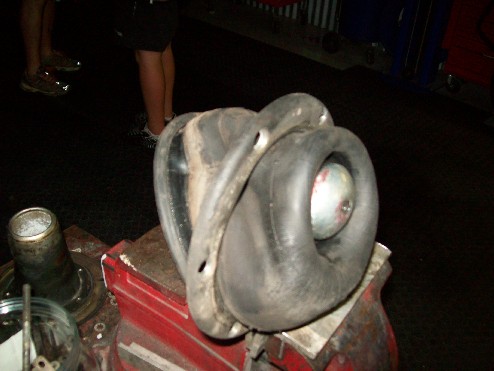
Collect all screws, stiffening plates, retainer rings, pistons etc and send to zinc plater for gold zincing. Clean and repaint steel air tanks, buy new bags. Reassemble as per the start of this thread and "bingo" you have rebuilt units to pressure test. Here are a couple of rear units ready to test with 50psi in them via a temporary Shrader valve.
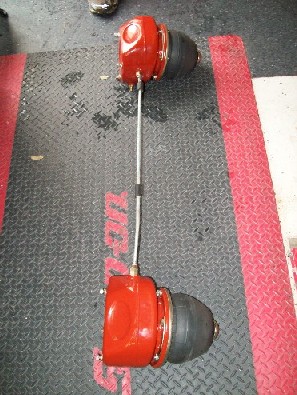
Now they are in the sink.
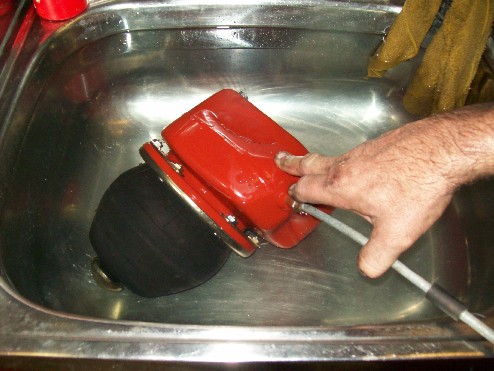
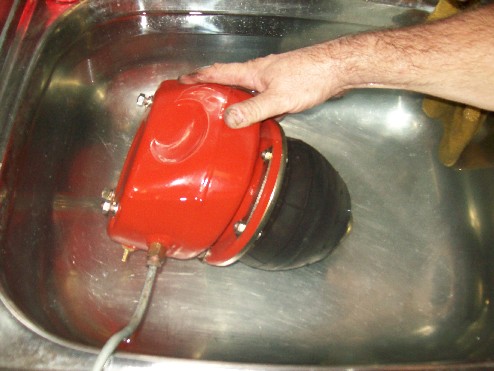
Locking tabs turned and now they are back on the car, thanks to the slaves in the boot and the rear seat.
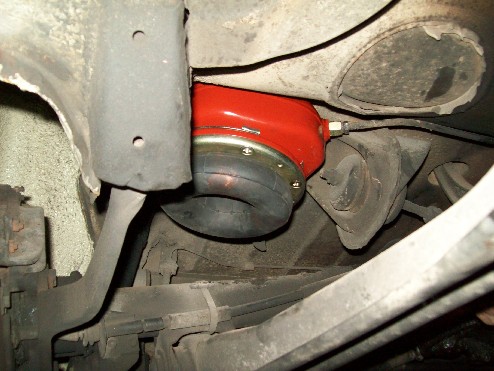
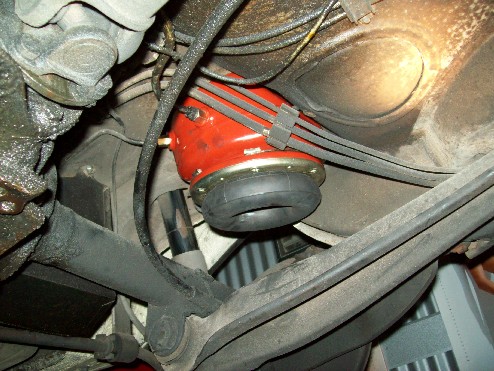
Air lines reconnected using proper tools and new washers.
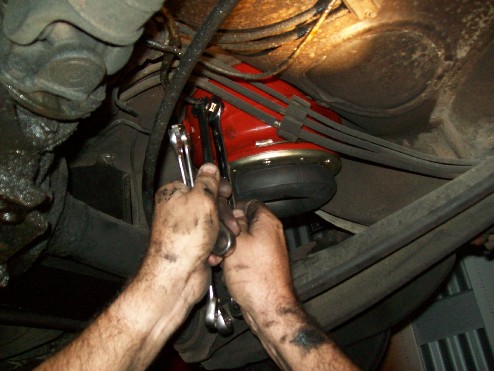
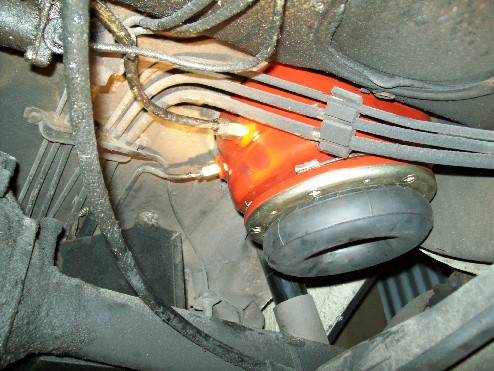
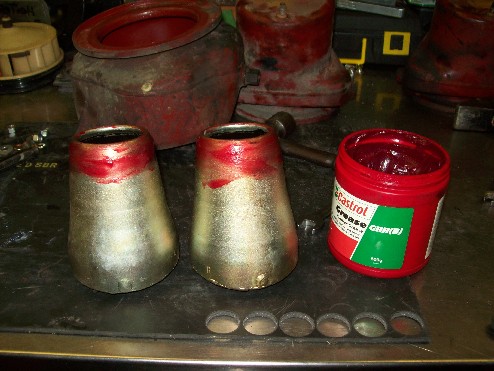
Prepare the rezinced pistons. The Service Manual says to use glycerine as I recall. I used rubber grease.
There is a pin on the bottom of the rear piston that goes in a hole on the trailing arm and the rear pistons are stamped R and L to make installation foolproof.
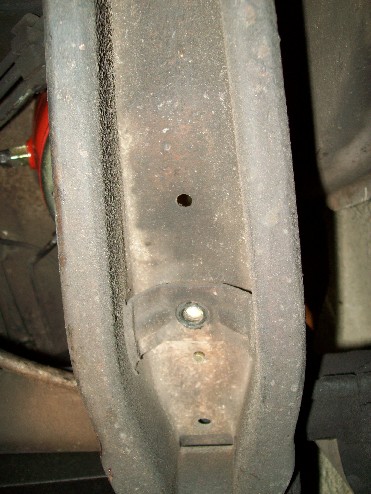
Screw in the bolt.
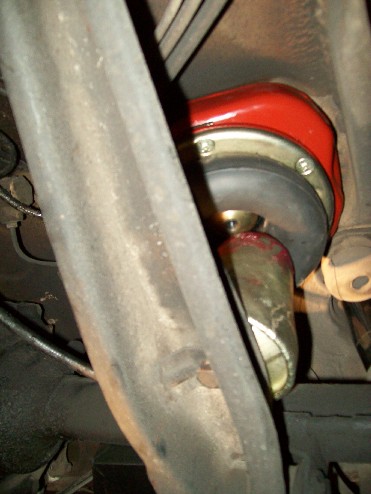
On the right we had to reattach the trailing arm.
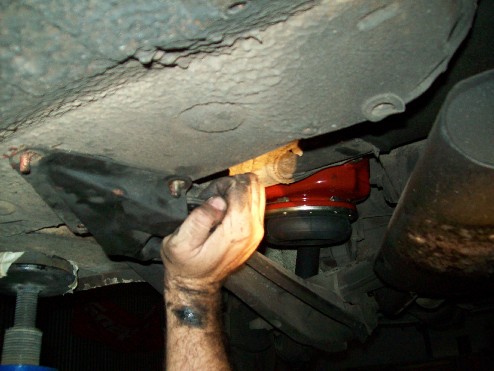
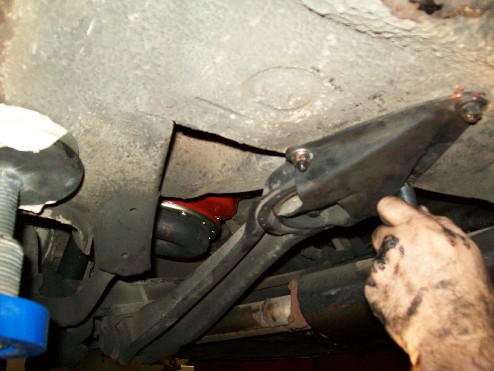
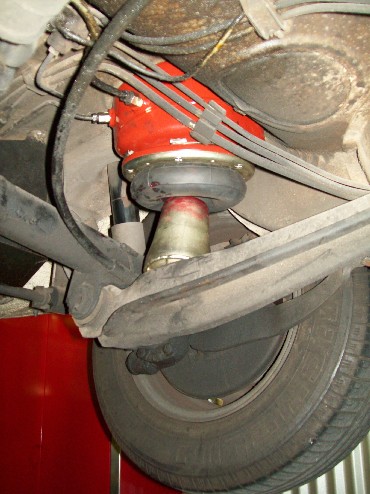
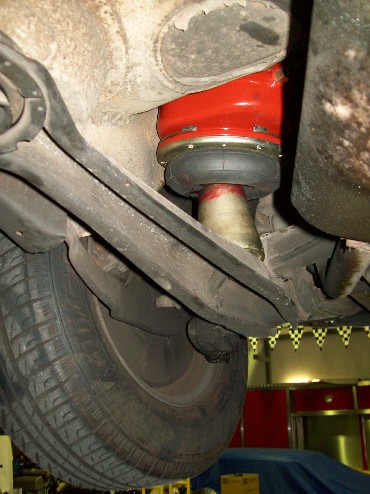
Wheels back on.
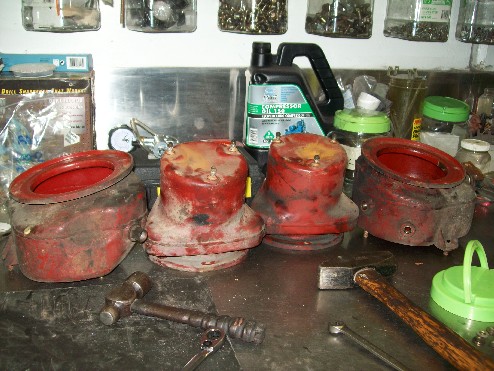
Then we have 4 tanks to clean and repaint for the next job. I am stalled on the front unit reinstallation because the 4 control arm buffers I thought were there were not immediately available and it was getting late. We want to install the buffers before replacing the bellows units.
So that is it for the moment. I hope someone finds it useful. I'm doing a printed version in sections for the Lode Star.
Art